Workspace
Workspace is where applications are grouped together for organization and management purposes. Admin have the flexibility to create new workspaces, deactivate existing ones, and move applications between different workspaces. This allows for efficient organization and customization of the platform according to your preferences and workflow.
Create App
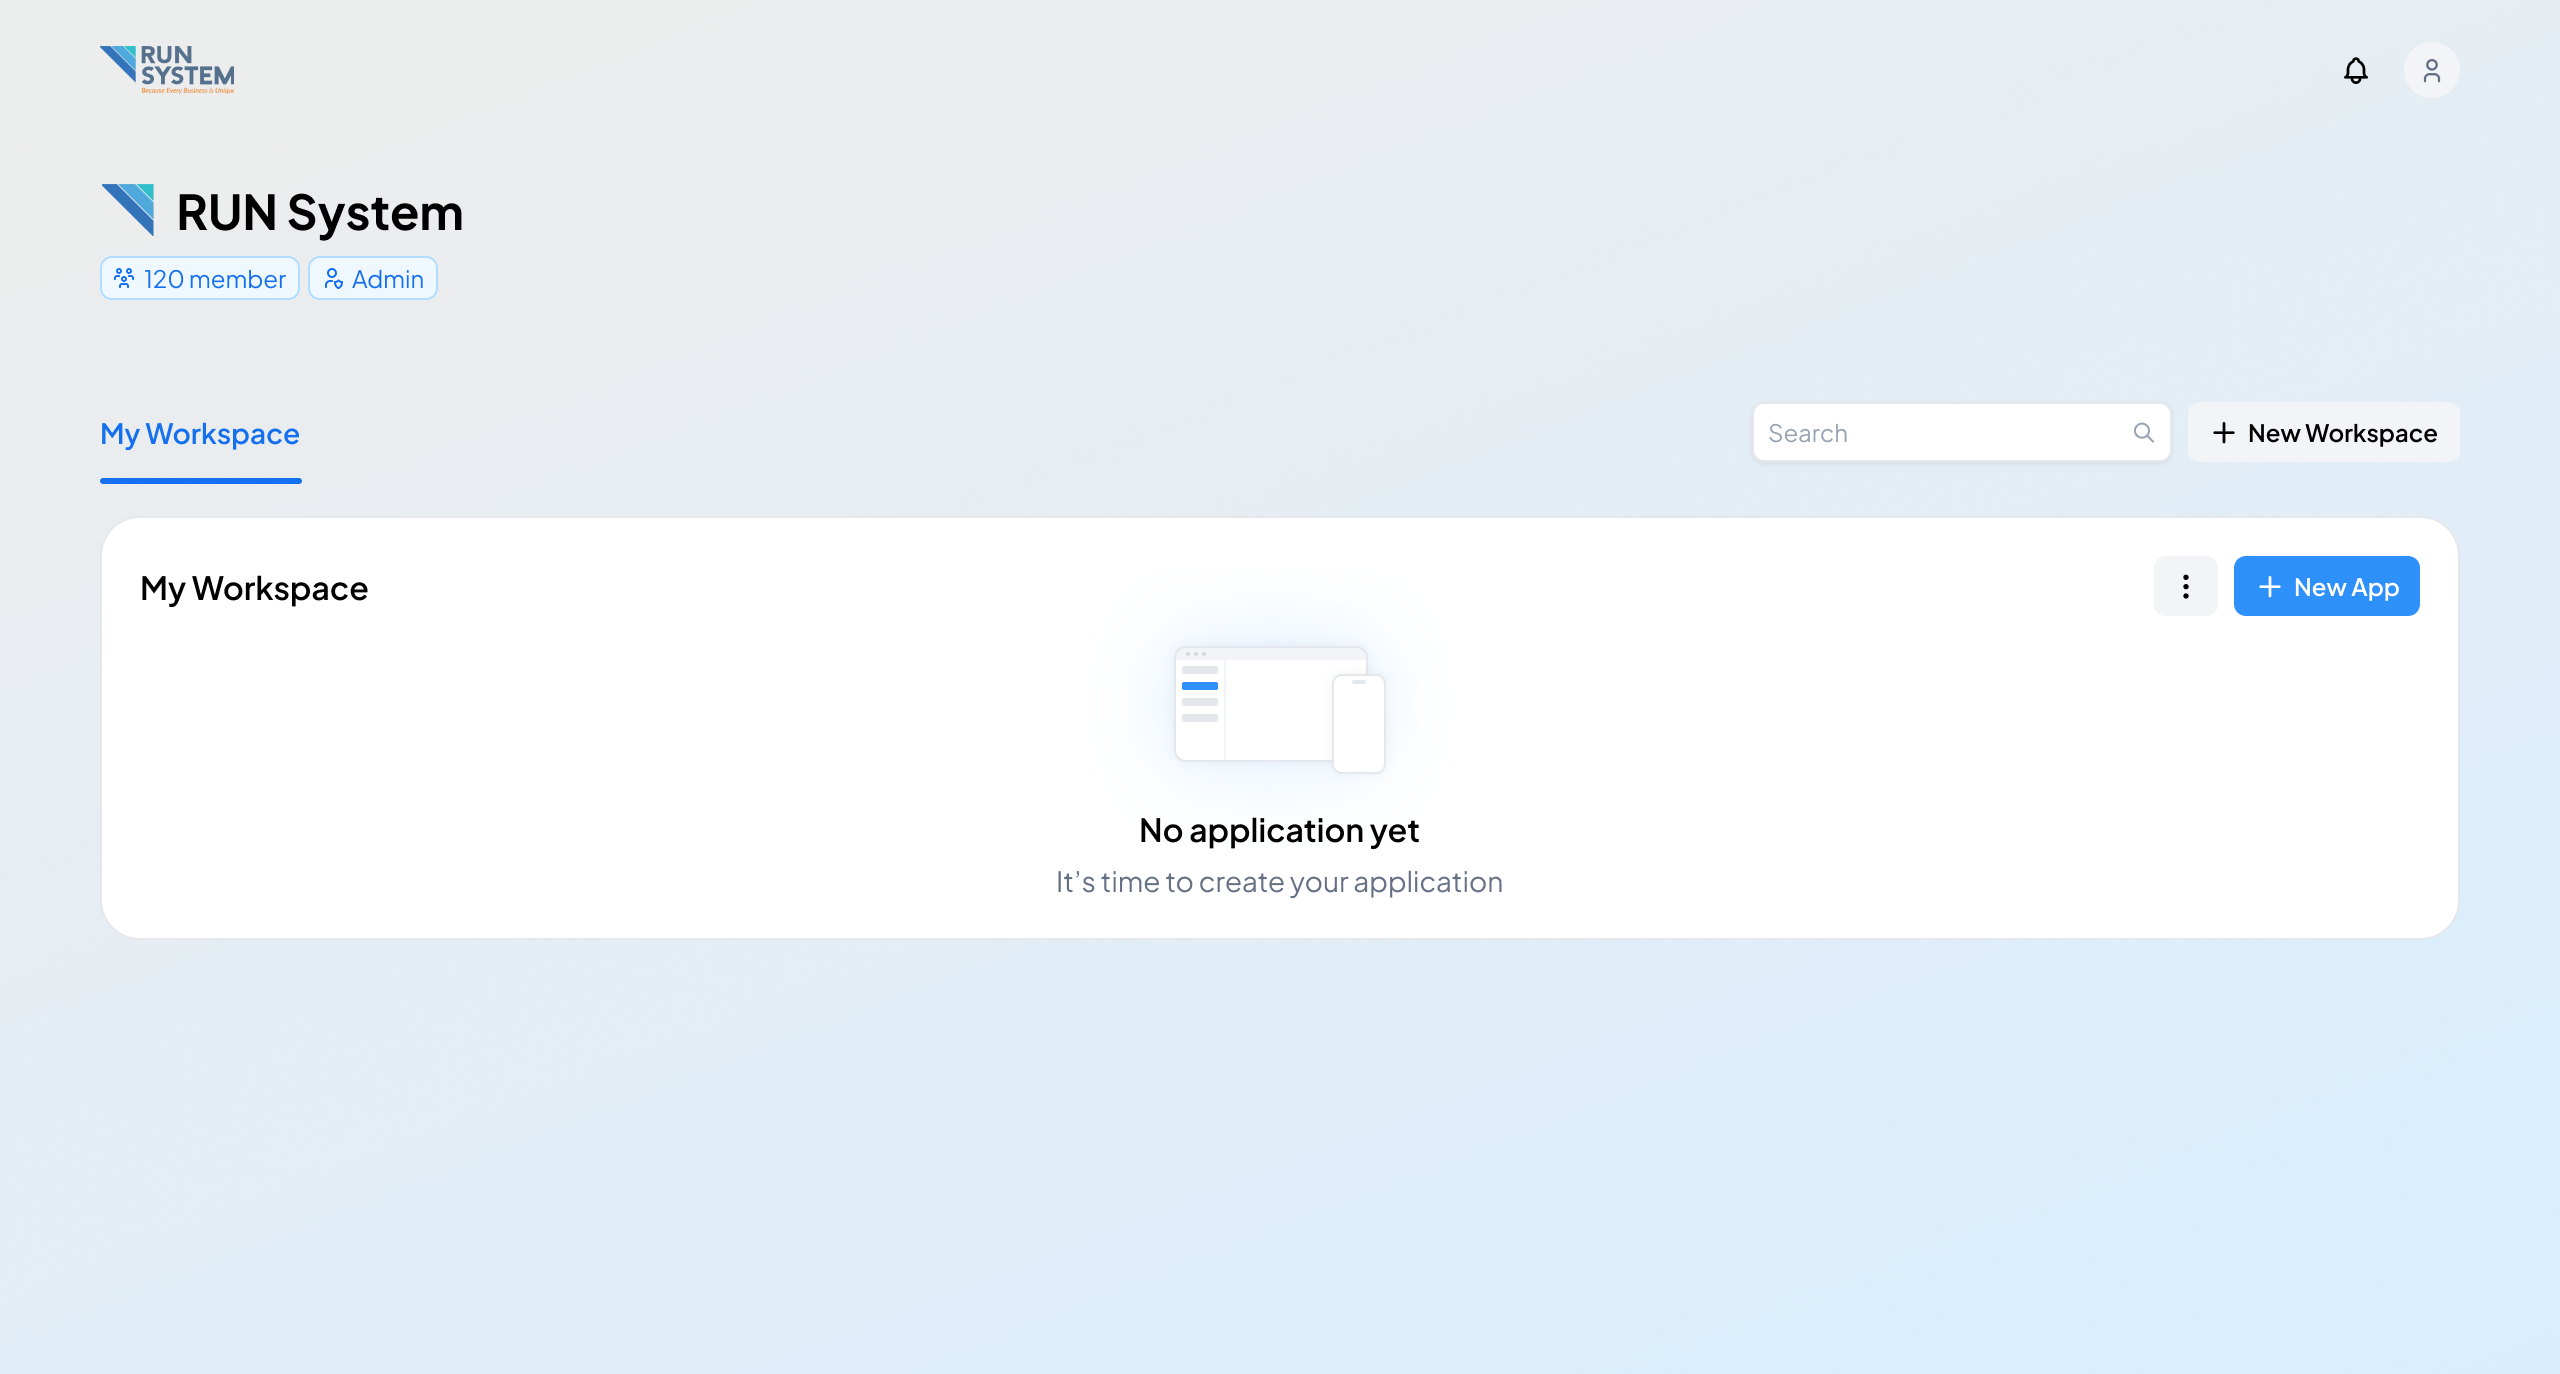
When first entering the RUN System Platform, a workspace will be created immediately so that you can start building applications right away. To begin creating an application, you can click the + New App button located in the top right corner of the Workspace.
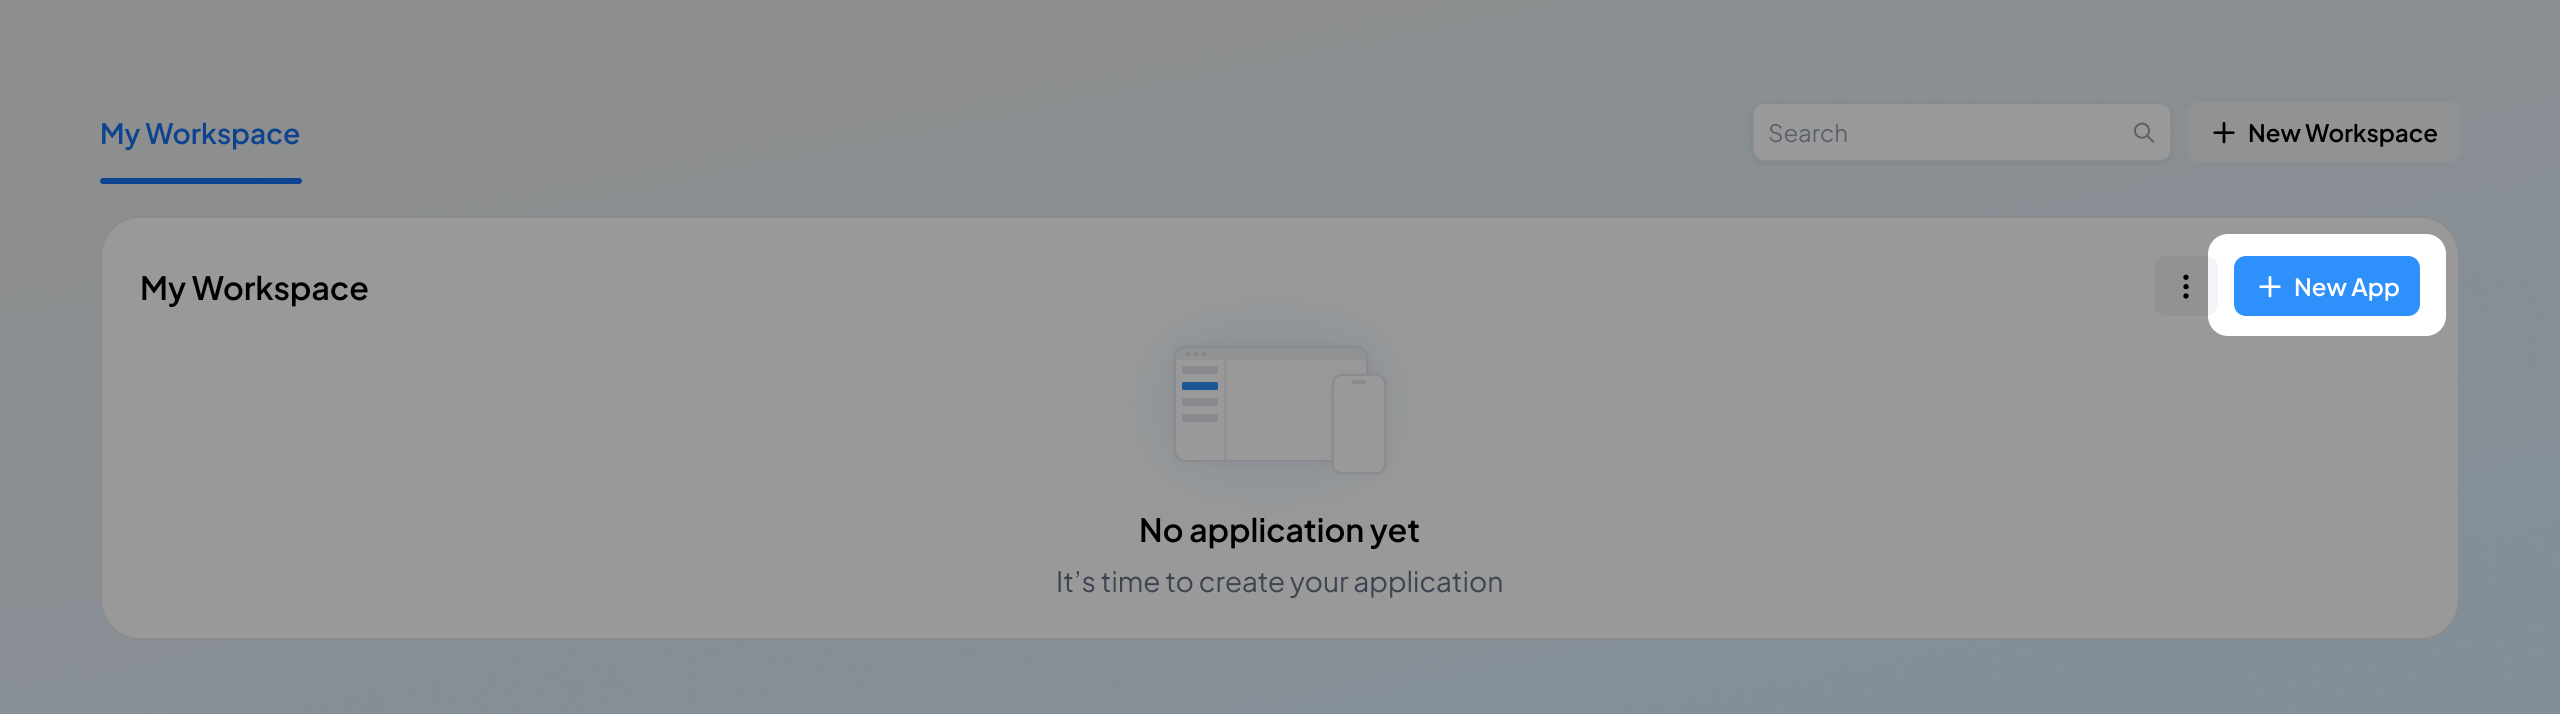
Note: Only the Admin within the organization can initiate the application creation process.
After clicking the + New App button, a dialog box like this will appear. You can choose the Blank option if you want to create an application from scratch, or you can also select from the pre-made templates we have provided based on the type of application you want to create. Then you will be prompted to create your application identity such as:
- Application Name
- Application Slug
- Description (optional)
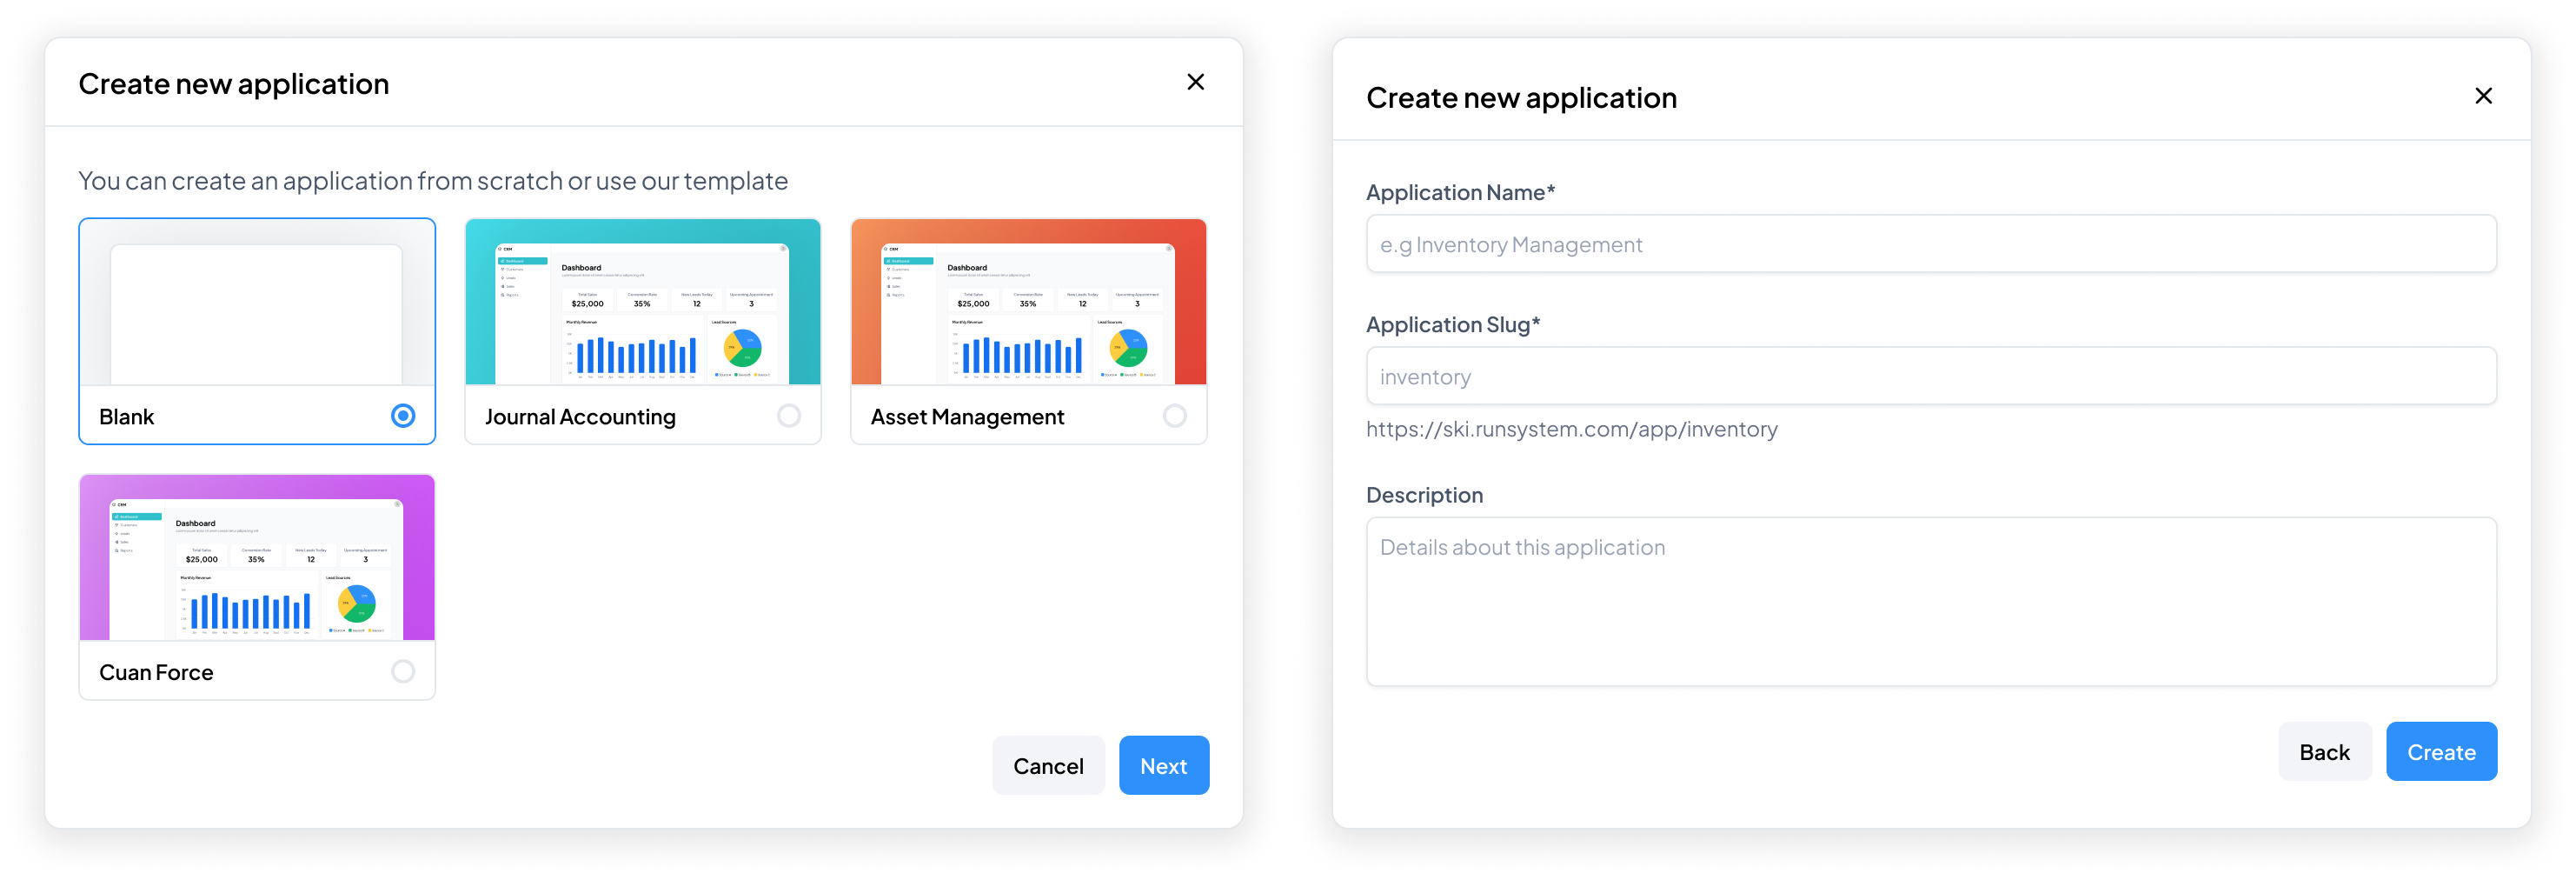
Once you have prepared your application, you will be directed to the Composer page to start building your application.
Create New Workspace
To create a new workspace, you can do so by clicking the + New Workspace button located at the top right of the workspace.

After clicking the button, you simply need to give a name to the workspace you want to create, and the new workspace will be created.
Note: Only the Admin within the organization can create workspaces.
Rename Workspace
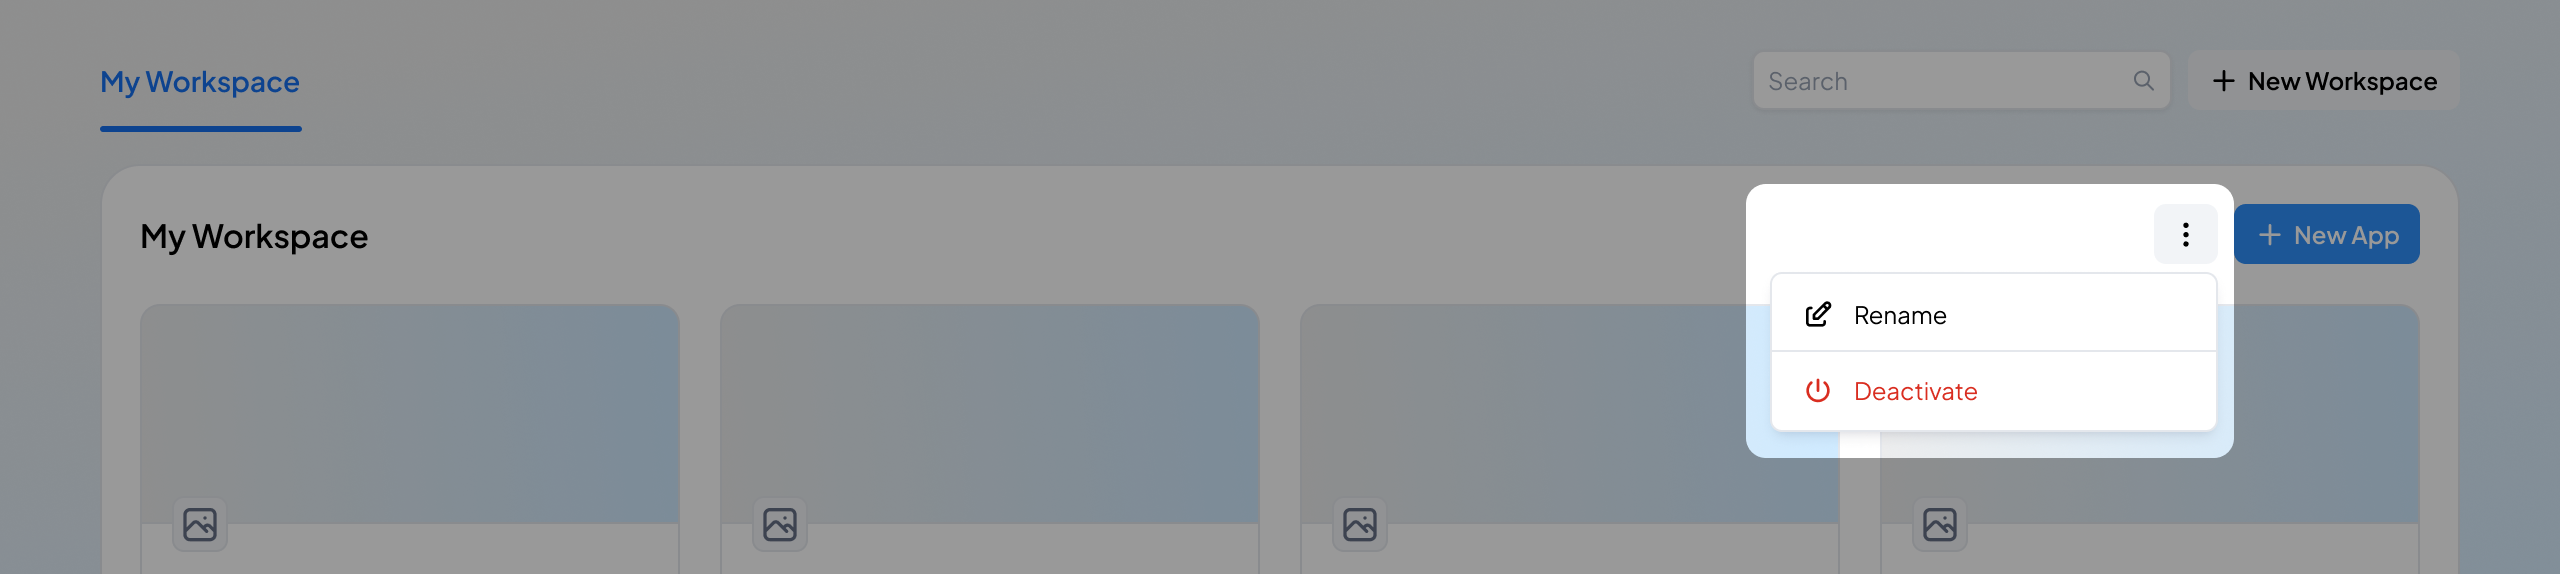
To change the workspace name, you can click the More button at the top right corner of the active workspace, then click Rename option. Change the workspace name according to what you want then save the changes.
Note: Only the Admin within the organization can rename workspaces.
Deactivate Workspace
Note: By deactivating a workspace, all applications in that workspace will also be deactivated so they cannot be used. Make sure the applications in the workspace will not be used by other members of the organization or you can inform them first
To deactivate a workspace, open the workspace you want to deactivate, click the More button at the top right corner of the active workspace, then click Deactivate option.
You can also deactivate the workspace via Workspace & App. Select the workspace you want to deactivate in the list, then deactivate the workspace by clicking the activation toggle in the top right corner of the workspace settings.
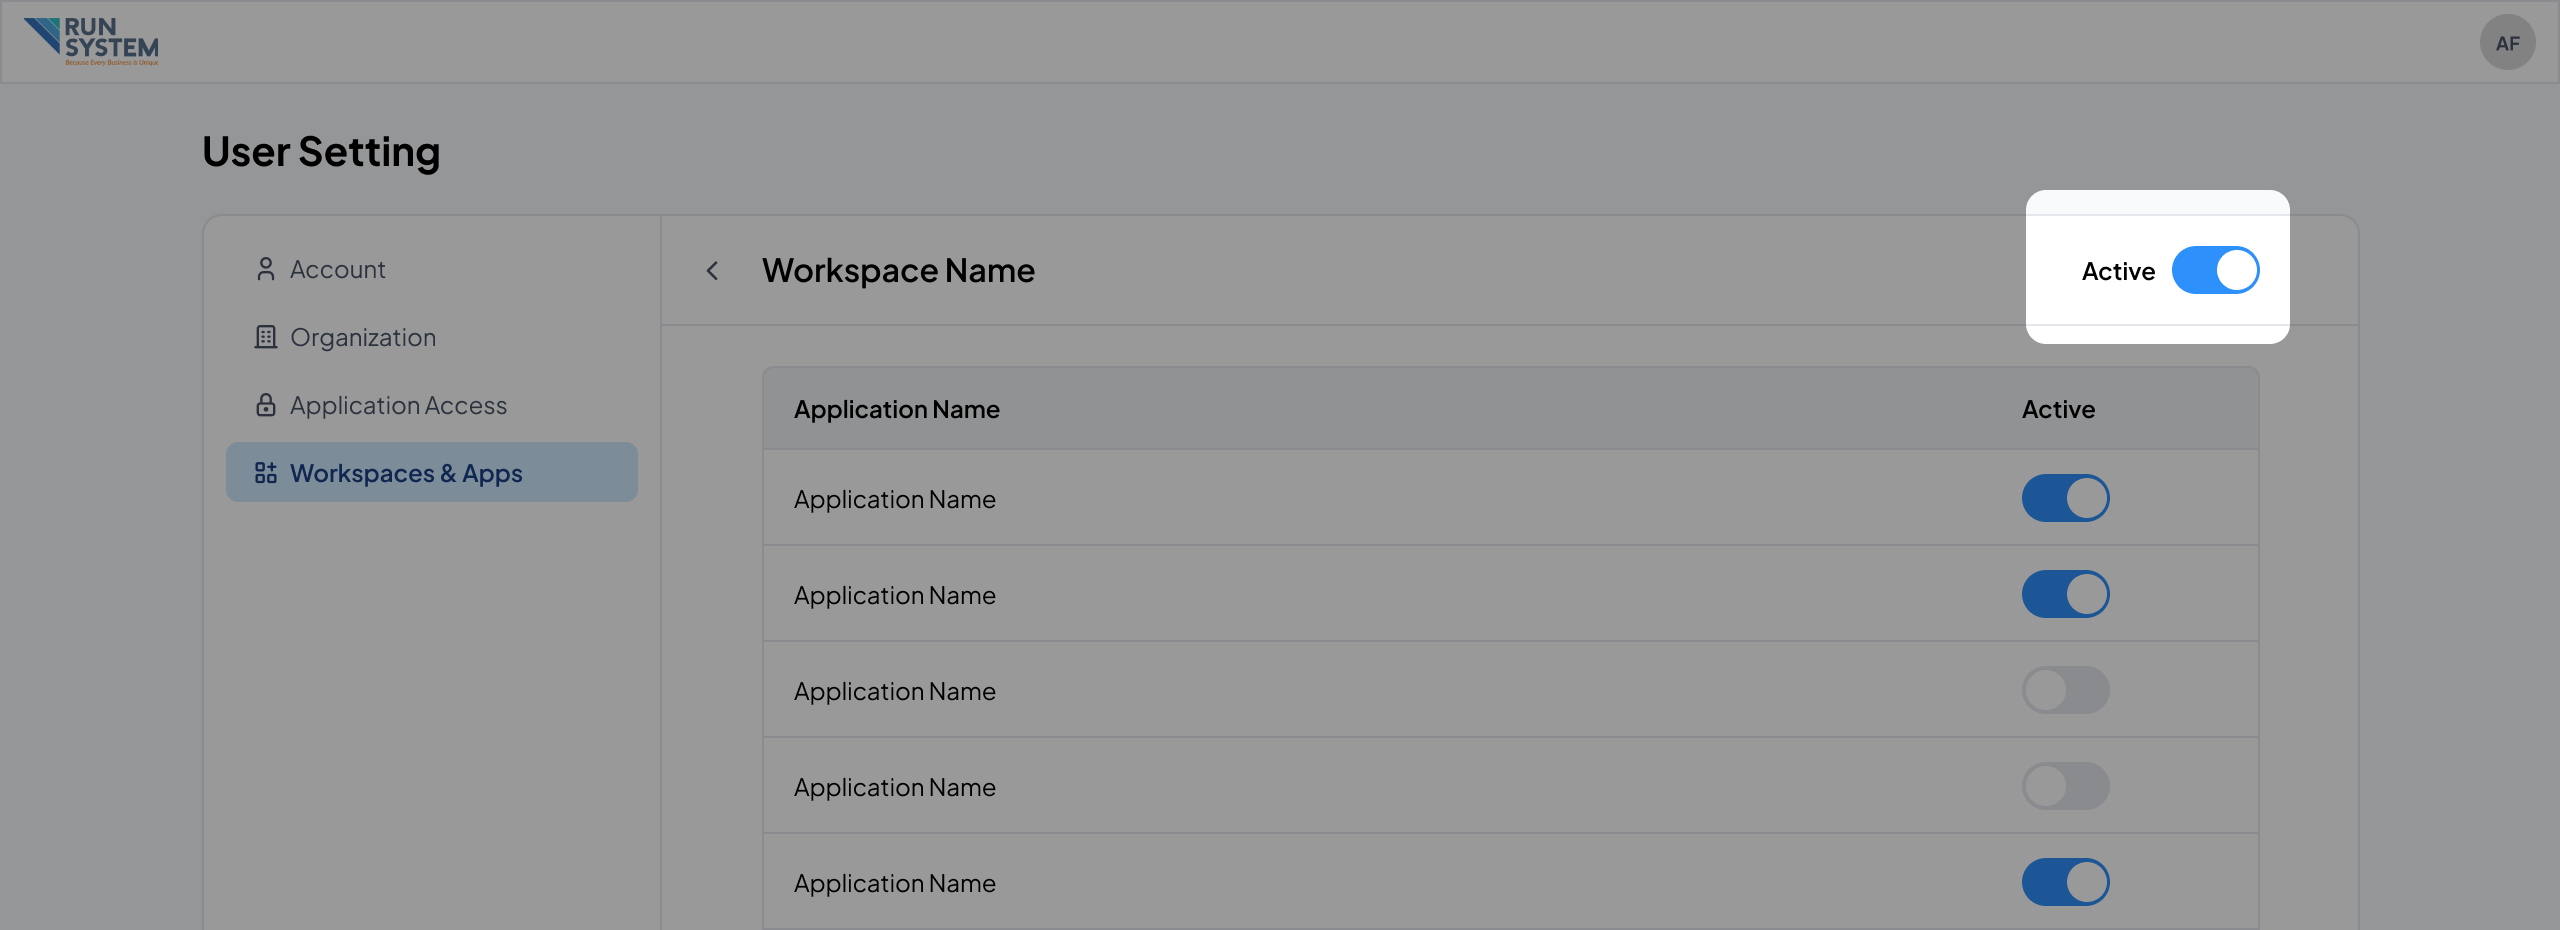
Note: Only the Admin within the organization can deactivate workspaces.
Reactivate Workspace
To reactivate a workspace that has been deactivated, you need to go to the Workspace & App menu in settings then select the workspace you want to reactivate. Click the activation toggle in the top right corner of the workspace settings and the workspace will be active again.
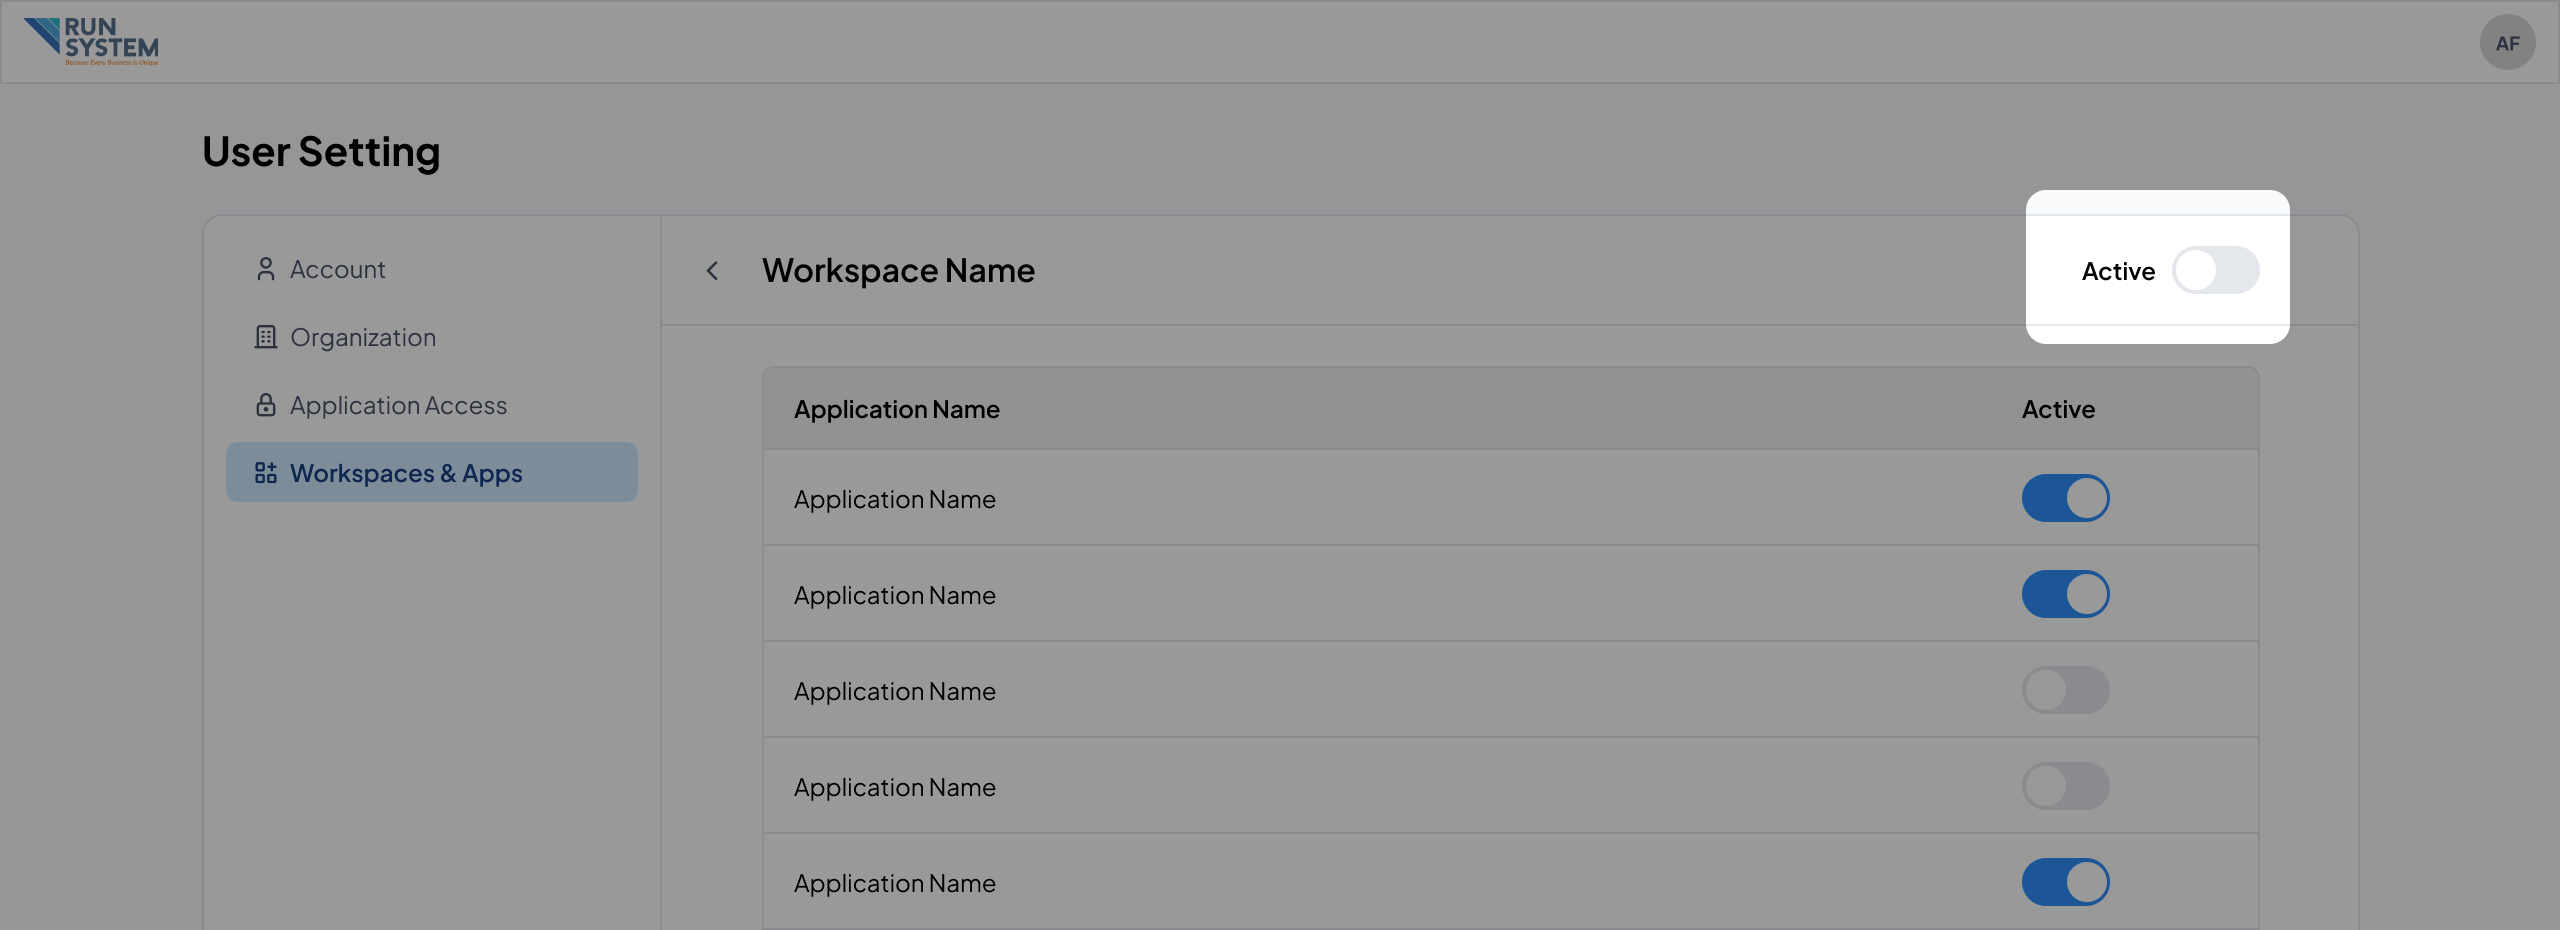
Note: Only the Admin within the organization can reactivate workspaces.
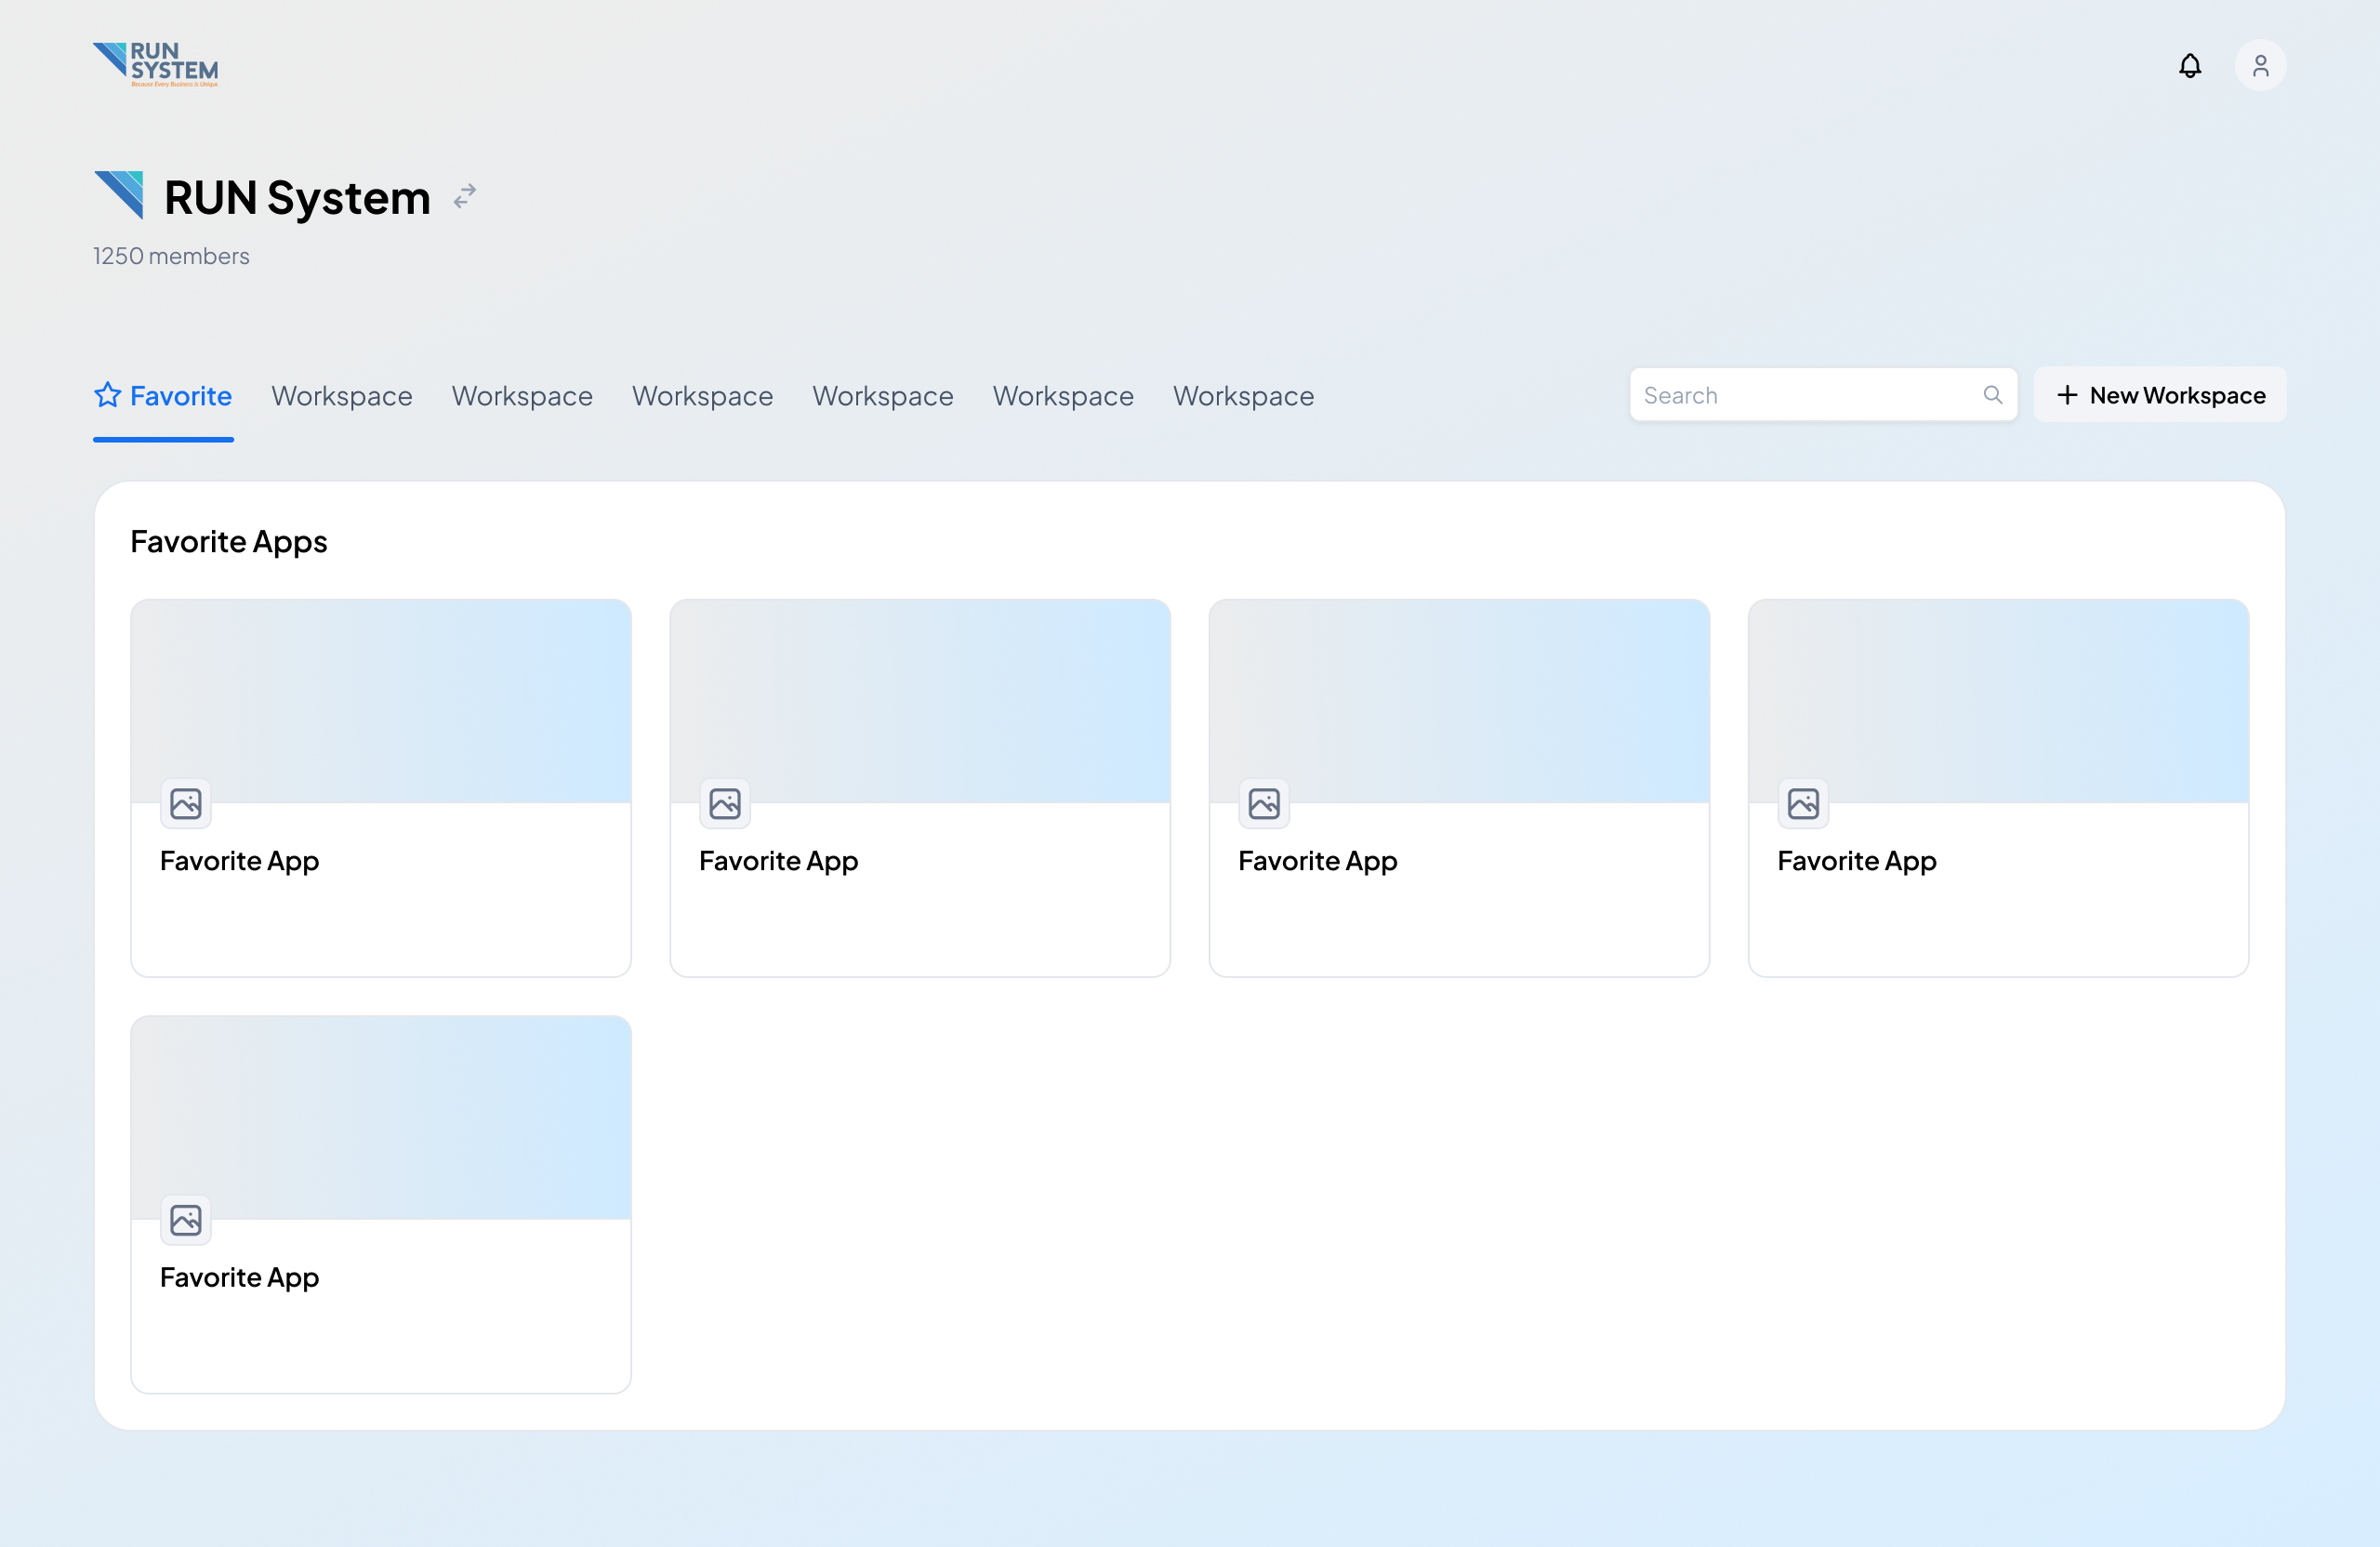
Favorite Workspace
The Favorite Workspace feature streamlines the user experience by offering quick access to bookmarked applications. When you first log in to the platform, the Favorite Workspace is automatically opened, saving users the hassle of searching for frequently accessed applications.
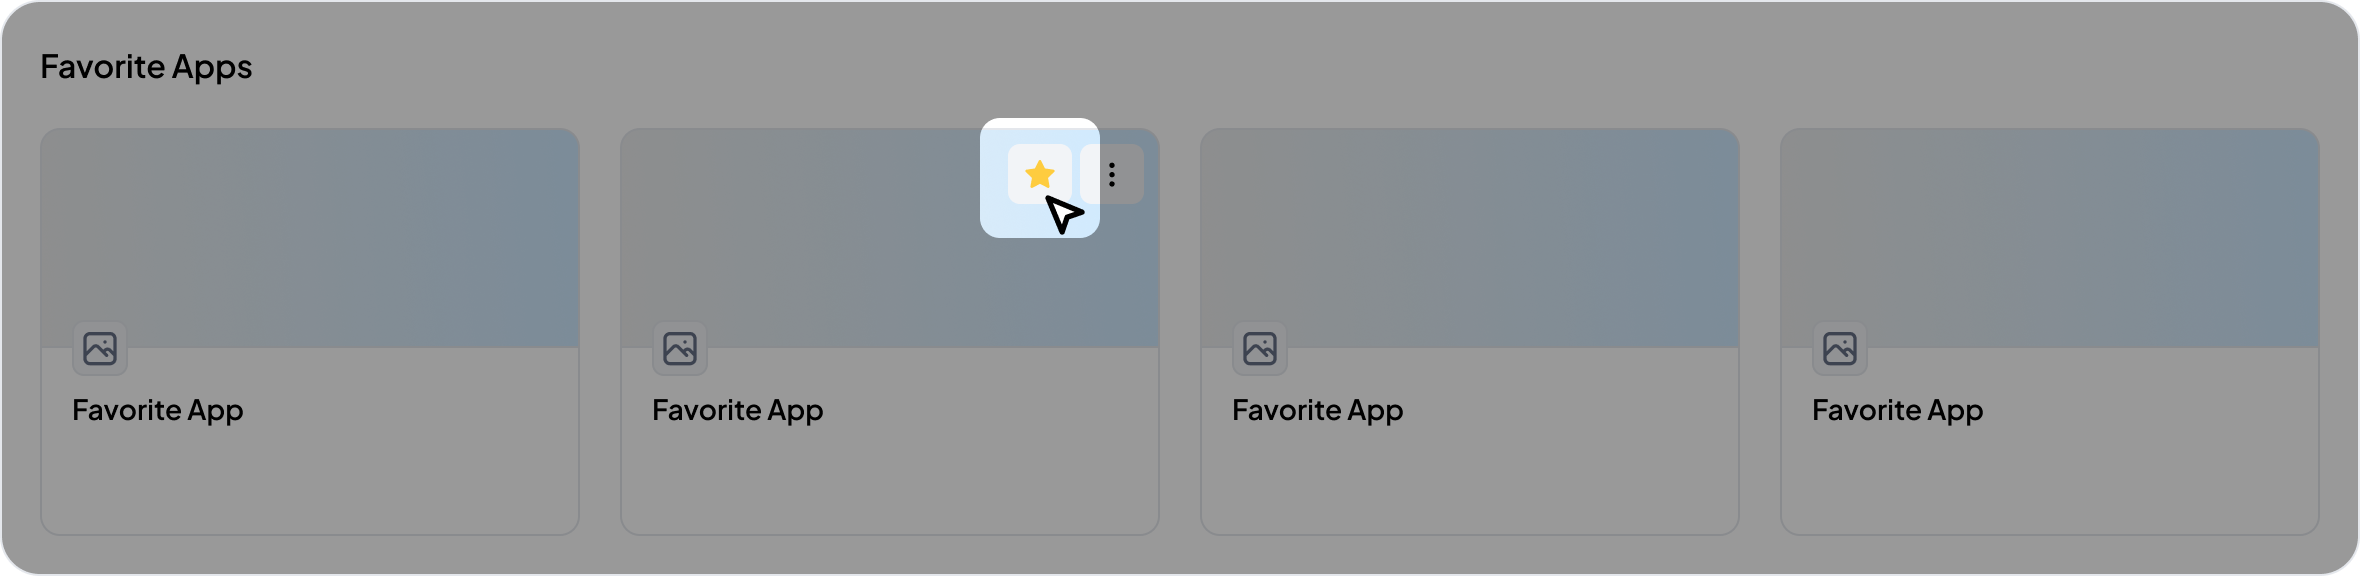
Add Application to Favorite
You can add the application to Favorite by clicking the Star button on the application. If you click the button, the star will turn yellow, indicating that the application has been added to Favorites.

Remove Application from Favorite
You can remove the application from Favorite by clicking the Star button on the favorite application. If you click the star button on a favorite application, the application will not appear in Favorite Workspace.
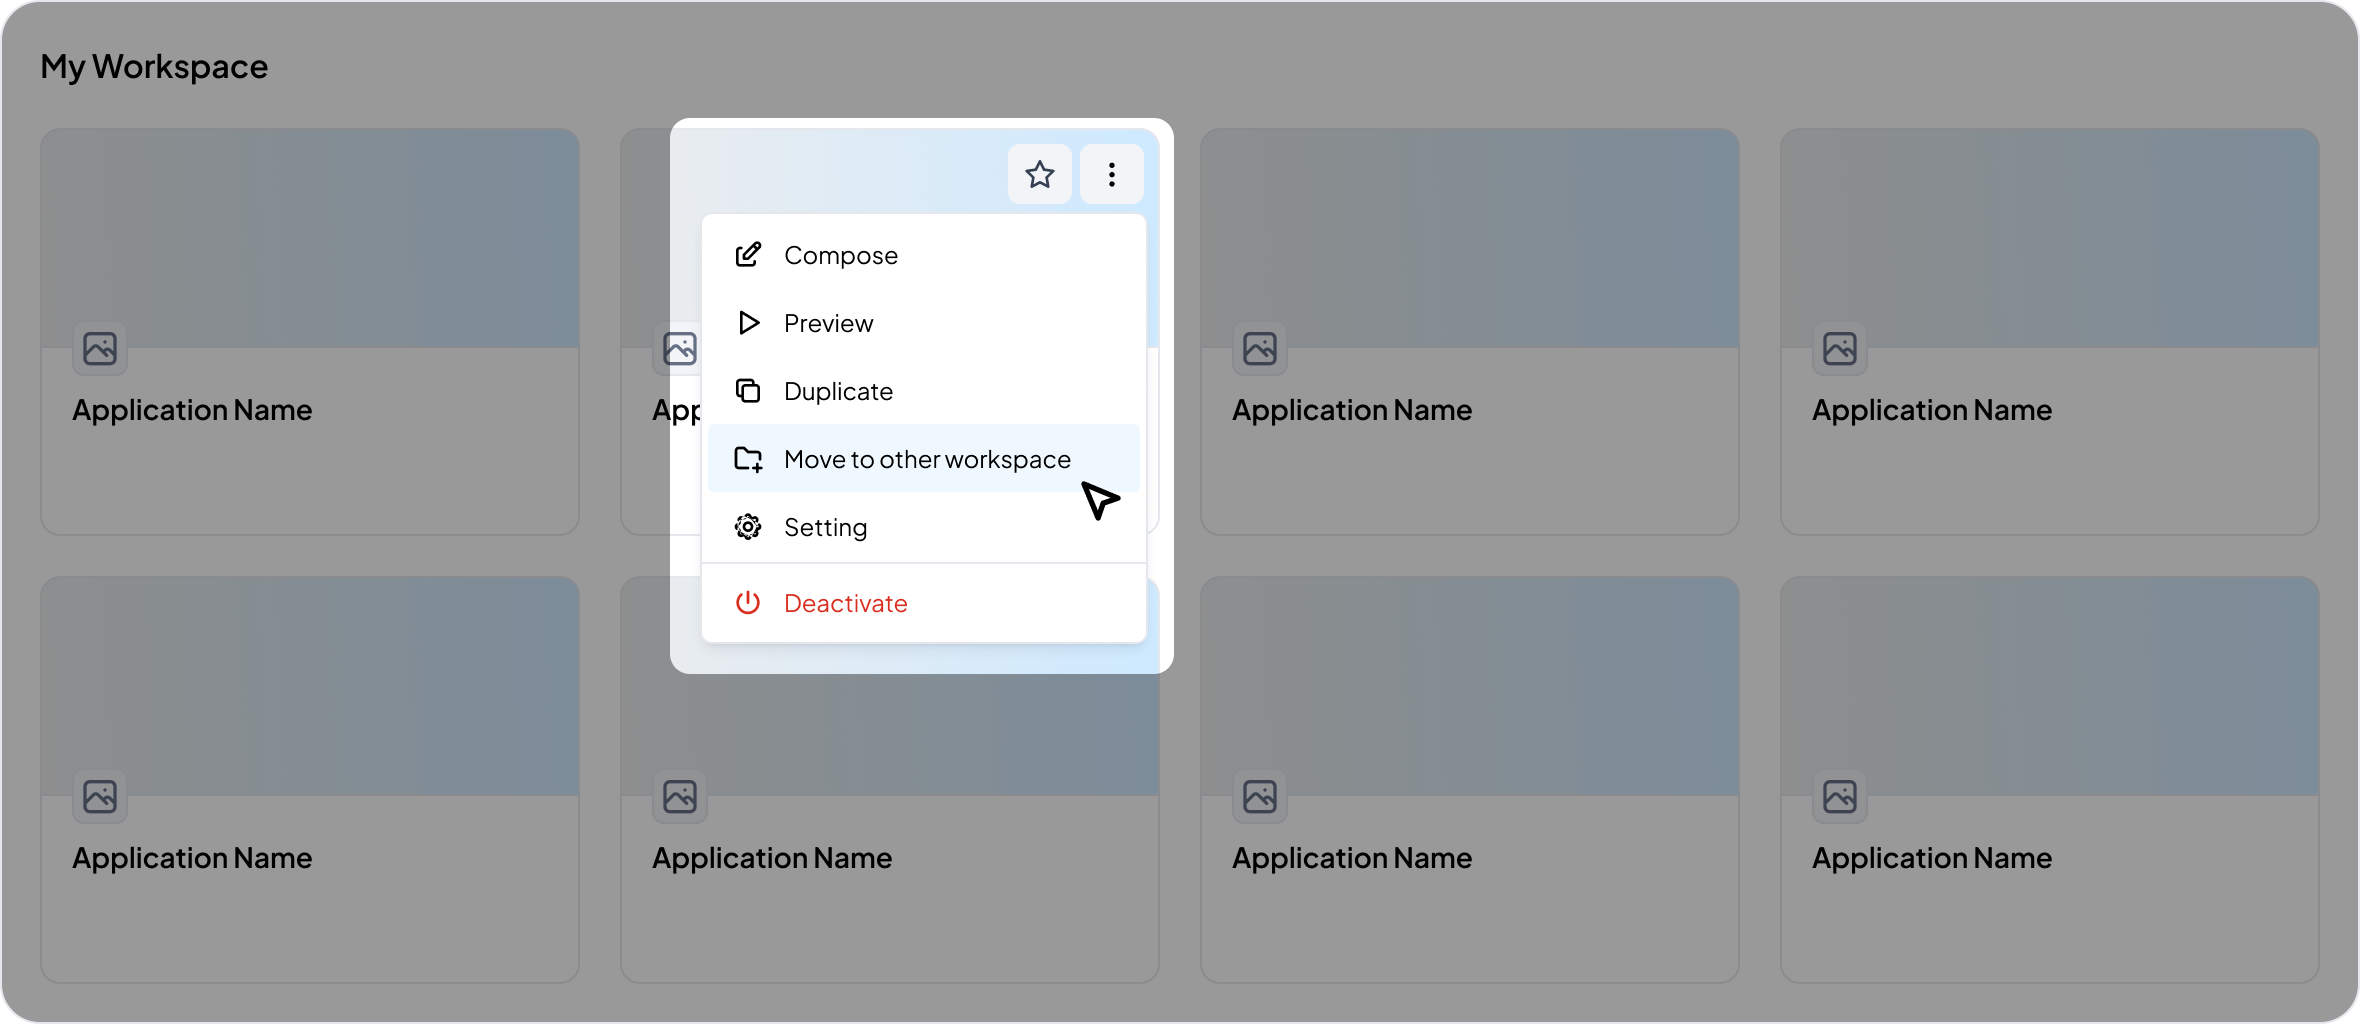
Move Application to Other Workspace
You can move applications from one workspace to another by clicking the More button on the application you want to move, then select the Move to other workspace option. Select the destination workspace and save the changes.
Note: Only the Admin within the organization can move applocation to other workspaces.