Data Provider
Description
Data Provider is very important and becomes a crucial point to display, edit, and delete data that has entered your application. Especially in terms of editing, you must include Data Provider in the existing flow created in the screen.
If you do not set up the Data Provider to be included in the screen with the edit/update/display action, errors may occur in your screen workflow, or the data you want to display may not appear at all.
How to Use It
Using Data Provider is not difficult, but it requires precision so that you do not display the wrong data. Here's how to use it:
- In the Screen section, see the icon to the left of the green save button. If you hover over the icon, a statement will appear that the button is for entering Data Provider.

Click the Data Provider icon, and you will be directed to the Data Provider page.
- After that, click the + button on the top left, next to the title Data Provider.
- Next, there are several columns that you can fill in, but for now the most important thing is that you fill in the name of the Data Provider and the Workflow used. Like this example.
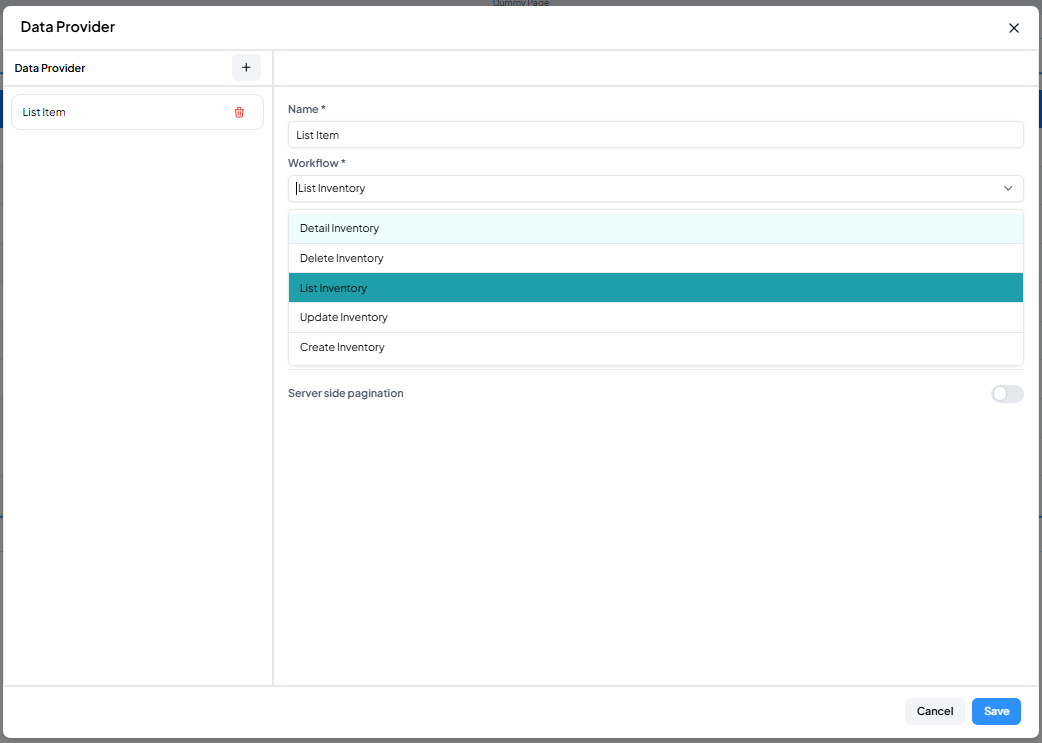
Make sure to click Save to save the Data Provider.
The Workflow used is the Workflow that has been saved in the Workflow composer with the format:
<Function> <Workflow Name>
In the example here, there is a Workflow for Inventory and the Workflow Function displayed is:
- Detail: To display details of one data individually
- Delete: To perform data deletion actions
- List: To display all data in one category with certain field rules
- Update: To overwrite and make changes to previously inputted data
- Create: To input new data
Below is an example of using a Data Provider to display data from a table.